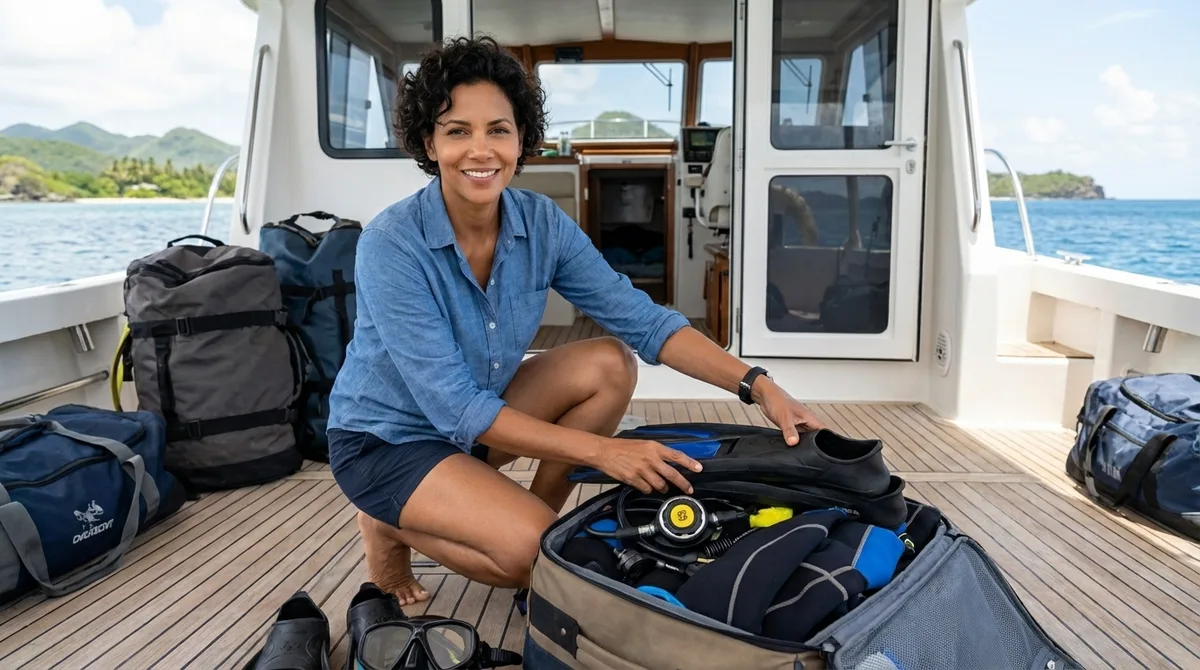
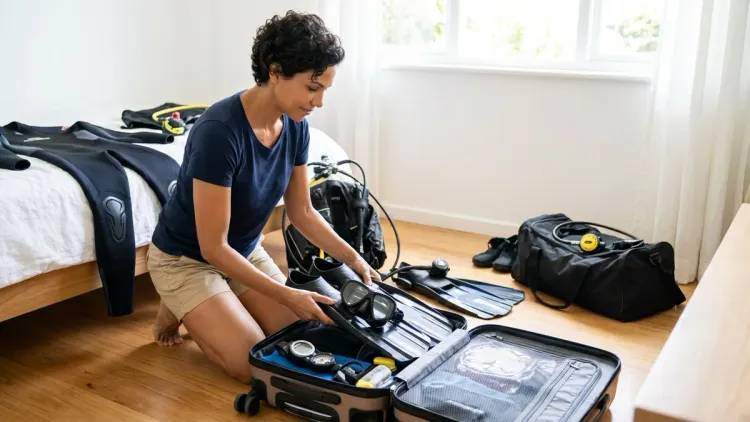
Packing for a remote liveaboard trip is honestly one of those things that stressed me out completely before my first extended diving adventure. I overpacked some things, forgot others, and learned the hard way that how you pack scuba gear for a liveaboard matters just as much as what you pack. Remote liveaboards are different from regular dive trips—you're heading somewhere without easy access to dive shops, replacement gear, or even reliable internet to troubleshoot problems.
In this guide, I'll walk you through exactly how to pack scuba gear for liveaboard trips so everything arrives safe, stays organized, and actually fits in your bags without exceeding airline weight limits. You'll learn the layering techniques that protect your gear, the organization systems that save you time between dives, and the backup items that have honestly saved my trips more than once.
Skill level: This guide works for any diver planning a liveaboard, from newer divers on their first boat trip to experienced divers heading somewhere truly remote.
Time needed: Plan for 2-3 hours of careful packing the day before your trip, plus about 30 minutes for a final check.
What You'll Need
Before you start packing, gather these items:
- Primary dive bag or roller bag (I prefer the wheeled ones—your back will thank you)
- Mesh dive bag for wet gear between dives (see our guide on best mesh dive bags for quick-draining gear storage)
- Soft padded cases for regulators and dive computers
- Plastic zip-lock bags in various sizes (gallon and quart)
- Packing cubes or dry bags for organizing clothes
- Cable ties or Velcro straps for securing loose items
- Portable luggage scale (seriously, get one—saved me from surprise airport fees)
- Small tool kit (Allen keys, adjustable wrench, spare o-rings)
- Your complete liveaboard diving gear checklist printed or on your phone
- Backup mask and dive computer if you have them
- Underwater camera gear if you're shooting (check out our underwater photography gear checklist)
Step 1: Check Your Liveaboard's Specific Requirements and Restrictions
Before you even think about folding a wetsuit, read your liveaboard's equipment requirements carefully. I made the mistake of not doing this before my first trip to the Socorro Islands and showed up with a yoke regulator when they strongly recommended DIN connections for the deeper dives. Not a deal-breaker, but definitely not ideal.
Different boats have different rules. Some limit the number or size of bags per passenger. Others have specific requirements about redundant dive gear for liveaboards, especially for technical diving itineraries. Remote liveaboards often require you to bring your own dive computer—they won't have loaners if yours fails.
Check their liveaboard equipment requirements for things like nitrox certification needs, wetsuit thickness recommendations for the destination, and whether they provide weight belts or integrated weights. Some boats in Indonesia ask you to bring your own weights because of the number of divers onboard.
Also look at their baggage policy. Most liveaboards are understanding about dive gear, but if you're flying on small planes or puddle jumpers to reach the departure port, those weight limits are real and strictly enforced. I've watched people desperately reorganize their bags on a dock before boarding a seaplane—not fun.
Write down their Wi-Fi situation too. If it's limited or nonexistent, download any equipment manuals, dive computer instructions, or camera settings guides you might need. You can't Google troubleshooting steps from the middle of the ocean.
Step 2: Service and Inspect All Gear Before Packing
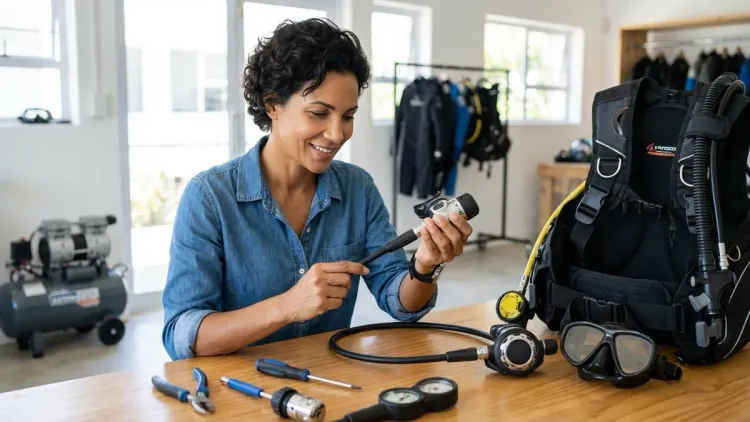
This step saved me from a terrible situation last year. Never assume your gear is trip-ready just because it worked fine last time. Two weeks before your departure, do a complete inspection of everything.
Your regulator needs to be within its service interval. Most manufacturers recommend annual servicing, and that's especially important for remote trips where rental gear might not be available. If you're close to your service date, get it done before you leave. Check out our complete guide on how to service a scuba regulator to understand what should be checked.
For your BCD, inflate it completely and leave it overnight to check for leaks. Inspect all the dump valves, make sure the inflator button works smoothly, and test the oral inflate tube. Run through the BCD maintenance checklist and BCD pre-dive safety checklist before packing.
Dive computers need fresh batteries if they're getting low. I always change mine around 30% remaining—not worth the risk. Follow the dive computer maintenance checklist and make sure you understand your nitrox settings if you're planning enriched air dives.
Test your mask—does it still seal properly? Check the strap for any degradation. If you're bringing a camera, do a full system check with a wet test in a pool or bathtub. O-rings on housings are critical, and you want to catch any issues at home, not on the boat. Our underwater camera maintenance checklist walks through exactly what to inspect.
Replace anything questionable. Remote liveaboards mean you're genuinely remote—the nearest dive shop might be days away.
Step 3: Pack Your Regulators and Computers in Protective Cases
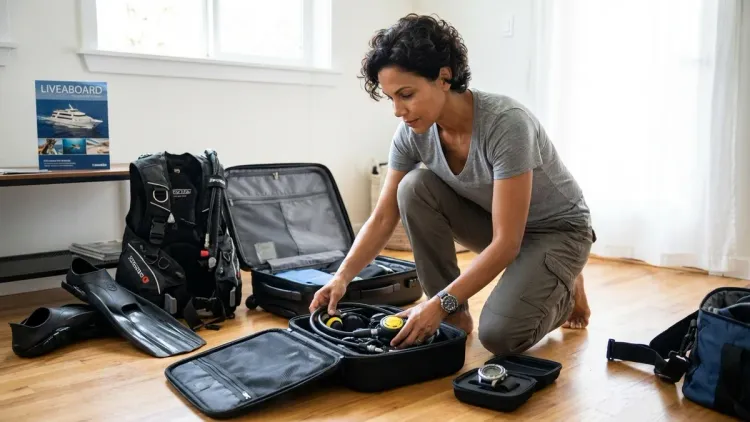
Regulators and dive computers are your most delicate and expensive gear, so they get packed first and packed carefully. I learned this after my first stage took a hit during baggage handling and I spent the first two dive days borrowing a rental.
Your regulator should go in a padded regulator bag. If you don't have one, wrap the first stage in a towel and place it in the center of your main bag, surrounded by soft items like your wetsuit. Never pack it near the edges or bottom where impact is most likely.
Protect the first stage dust cap—make sure it's secure and the o-ring is in place. I wrap a small piece of tape around mine just for extra security. The second stage should have its mouthpiece protector on if it came with one. Coil the hoses loosely—don't fold them sharply or kink them.
If you have a DIN regulator, that connection is more durable than yoke, but still needs protection. For yoke connections, the brass valve connection needs extra padding. Check our comparison of DIN vs yoke regulator connections if you're deciding which to bring.
Dive computers should be in protective cases or padded pouches. I keep mine in a hard-shell sunglasses case—works perfectly and costs basically nothing. Take the battery cover off and check that o-ring one more time. Put your computer through its pre-dive setup checklist before packing so you know it's working.
Pack your backup computer separately from your primary. If your main bag goes missing, you still have a working computer in your carry-on. Same with a backup mask—always in my personal bag, never checked.
If you're bringing biometric dive computers or smart dive systems, review the biometric dive technology guide and make sure all sensors are calibrated and protected.
Step 4: Roll and Layer Your Wetsuit for Maximum Protection
Your wetsuit is going to be the cushioning layer that protects everything else, but you need to pack it strategically to avoid creases and protect it from damage. I used to just stuff mine in, and then I'd spend the first dive day trying to work out the permanent folds that made it super uncomfortable.
If you're choosing between wetsuits, consider a travel wetsuit that's designed to pack smaller. For thickness decisions, check whether you need a 5mm vs 7mm wetsuit or maybe just a full wetsuit vs shorty depending on your destination.
Roll your wetsuit instead of folding it. Lay it flat, smooth out any wrinkles, and roll it from the legs up toward the shoulders. This prevents permanent crease lines and makes it more compact. If you have a best wetsuit for scuba diving that fits you perfectly, you really don't want to damage it with bad packing.
Once rolled, your wetsuit becomes protective padding. I place mine around the perimeter of my bag, creating a cushioned border. Put your regulator in its case in the center, then wrap the wetsuit around it. Your BCD (deflated completely) can go on top, with the wetsuit providing a buffer between it and anything heavy.
For really remote liveaboards, consider bringing wetsuit cement and patches. I keep a small tube and a few neoprene patches in a zip-lock bag tucked into my wetsuit. They weigh almost nothing but can extend the life of your suit if you get a tear.
Don't forget your wetsuit maintenance checklist items—bring the specific cleaner or conditioner you use if the boat doesn't provide it. Some liveaboards have amazing rinsing facilities; others just have a bucket.
Step 5: Pack Your BCD Strategically to Save Space
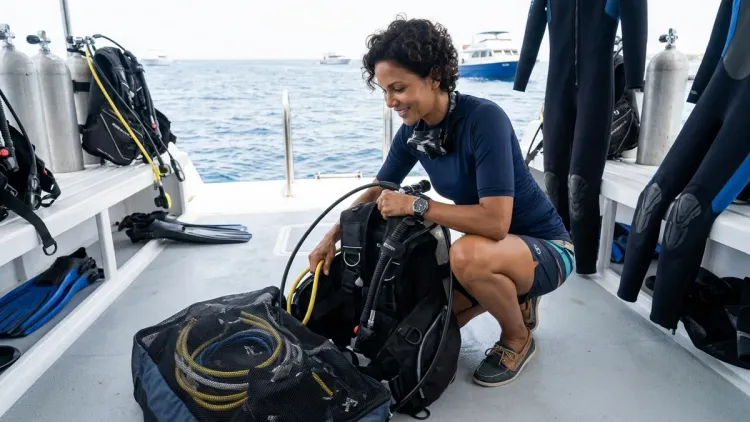
BCDs are bulky but compressible, which makes them both easy and tricky to pack. The key is completely deflating the bladder and using the interior space.
Deflate your BCD totally. Press all the air out through the inflator and the dump valves. Open the drain valve if it has one and make sure every bit of air is gone. The more you deflate it, the more space you save.
Now stuff soft items inside the BCD bladder through the neck opening. I pack my dive socks, hood (if I'm bringing one), spare rash guards, and my mesh dive bag inside. This uses the empty space efficiently and adds cushioning to protect the bladder from hard items in your main bag.
If you have a travel BCD or one of the best travel BCDs under 5 pounds, this step is even easier because they're designed to pack small. But even a full-sized jacket-style BCD can compress quite a bit with the right technique.
Secure the straps. Nothing worse than getting to your destination and finding the shoulder straps have gotten tangled around everything else in your bag. I use Velcro straps or cable ties to keep them tucked close to the BCD body.
Pack the BCD on top of your wetsuit layer, toward the top of your bag. It's one of the items you'll want quick access to when you arrive and start setting up your dive station on the boat.
For BCD selection advice, check out whether a jacket BCD vs back inflate BCD is better for your diving style, or review the best buoyancy control devices for beginners if you're still building your gear collection.
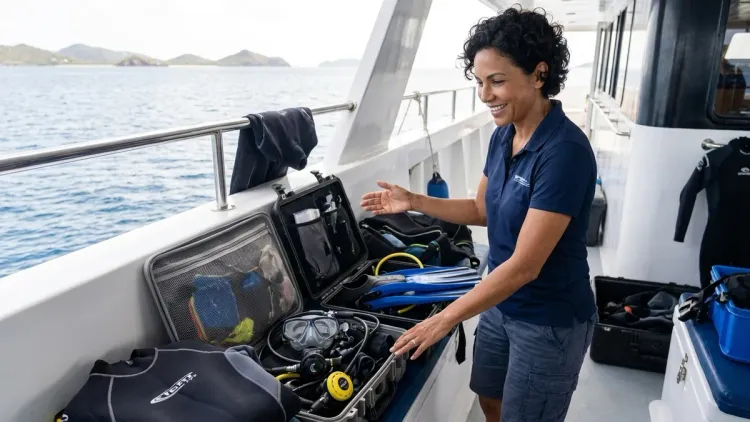
Step 6: Organize Small Items and Accessories in Labeled Bags
This is where things either stay organized for the whole trip or turn into a chaotic mess by day two. Use clear plastic bags or small dry bags to group similar items together.
Create separate bags for:
Camera accessories bag: Extra o-rings, lens cloths, silicone grease, strobe arms, color correction filters. If you're bringing strobes, read up on strobes vs video lights and pack the appropriate batteries separately. Make sure you understand underwater color correction before you go.
Spare parts bag: O-rings in various sizes, fin straps, mask straps, cable ties, zip ties, small multi-tool. I also include a save-a-dive kit with common spare parts. This bag has legitimately saved not just my dives but other divers' trips too.
Personal dive accessories: Dive light (with batteries removed for travel), SMB and spool, dive slate, underwater notebook, reef-safe sunscreen, defog solution.
Electronics and charging: Dive computer charging cables, camera battery charger, power bank, universal adapter. Put these in a separate bag from anything wet.
Documents and small valuables: Certification cards, dive logbook, insurance info, emergency contact numbers, boat confirmation. I keep this in my carry-on, never checked.
First aid and personal medications: Seasickness medication (bring more than you think you need), decongestants, ear drops, basic first aid supplies.
Label each bag with a piece of tape and a marker, or use colored dry bags where each color means something specific. On a liveaboard with 3-4 dives a day, you don't want to waste time hunting for your spare mask strap.
Pack these organized bags in the top and side pockets of your main dive bag for easy access. The stuff you'll need every day (defog, sunscreen, dive light) should be the most accessible.
Step 7: Pack Your Fins, Mask, and Carry-On Essentials
Your most critical items should never go in checked luggage. I can't stress this enough. After hearing horror stories from other divers about lost bags and seeing it happen to someone on my last trip, I'm religious about this rule.
Your carry-on should include:
- Primary mask and backup mask
- Primary dive computer
- Certification cards and dive insurance documents
- One swimsuit and rash guard
- Essential medications
- Phone and charger
- Download of your liveaboard confirmation and emergency contacts
Some divers even carry their regulator in their carry-on. I don't because I want to check my whole life support system together, but I completely understand the logic.
For fins, the decision depends on their size and your baggage situation. Full-size paddle fins need to go in checked luggage, usually along the long side of your bag. Split fins sometimes fit diagonally. Pack them blade-to-heel to save space, and stuff something soft (like a t-shirt) between the blades to prevent them from getting crushed or permanently bent.
If you have adjustable fins with straps, remove the straps and pack them separately so they don't get caught on things. Spring straps are more durable for travel.
Mask packing is critical. Even though I said it goes in carry-on, I'm going to repeat it because I've seen so many cracked masks: hard case in carry-on, every single time. The lens can crack under pressure, and your trip is basically ruined without a properly fitting mask. Your backup mask goes in checked luggage, also in a hard case.
Before you close up your bags, run through your dive gear bag packing checklist one final time. Check everything against the complete liveaboard diving gear checklist too.
Weight your bags with your portable scale. If you're over, start making tough decisions. Remember that you can often wear your heaviest items (boots, heavy jacket) on the plane to save bag weight.
Step 8: Prepare Your Bags for Transit and Rough Handling
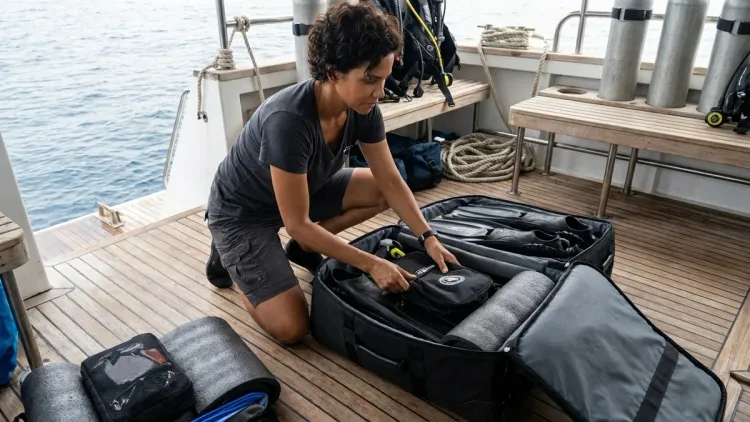
The final step is protecting your carefully packed bags from the realities of airline baggage handlers and boat transfers. I've learned that even with great internal organization, your bags can take a beating during transit.
Use a heavy-duty dive bag or roller bag as your main luggage. Soft bags are more forgiving than hard-shell suitcases for dive gear—they can expand slightly if you need to squeeze in one more thing, and they don't crack under pressure. Check out our guide on how to choose a dive bag for selection criteria.
Reinforce the zippers. If your bag has lockable zippers, use small padlocks or cable ties through the zipper pulls. This isn't just about security (though that matters)—it prevents the zippers from working themselves open during rough handling. I once had a bag burst open on a tarmac because the zipper failed, and it wasn't pretty.
Add identification inside and outside the bag. Tape your contact info inside the bag too, in case the exterior tags get ripped off. Include your boat name and departure date on the tags so if your bag goes missing, airline staff know it's urgent.
If you're flying to a remote location with small planes or boat transfers, consider how you'll physically move your gear. Two medium bags are sometimes easier than one huge one, especially when you're climbing onto a small boat. I learned this the hard way trying to pass a massive roller bag from a dock onto a zodiac in choppy water.
Bring a compression strap or bungee cord. If you end up with wet gear that needs to go outside your bag during transfers, you can secure it to the outside of your bag instead of hand-carrying it.
Take photos of your packed bags before you close them. If something goes missing or gets damaged, you have documentation of what was inside and how it was packed. Insurance claims are much easier with visual proof.
Pro Tips & Common Mistakes
Biggest mistake I see: Overpacking. I did this on my first liveaboard and ended up with gear I never touched while paying overweight baggage fees. Be honest about what you'll actually use. If the destination is consistently 82°F water, you don't need a 7mm wetsuit "just in case." Trust the liveaboard's recommendations.
Pro tip for camera gear: Pack your camera in your carry-on, but pack strobes and arms in checked luggage. Modern camera housings are tough, but strobes are expensive and fragile. The batteries must be removed from electronic flash units for air travel anyway (check current TSA regulations for battery rules).
Common mistake with BCDs: Not draining the bladder completely before packing. Water trapped inside adds weight, can develop mildew, and makes your BCD bulkier than it needs to be. Rinse it well before your trip and make sure it's totally dry inside.
Pro tip for weight management: Wear your dive boots on the plane if weight is tight. They're heavy and bulky in your bag but fine on your feet. Same with a heavy fleece or jacket—wear it, don't pack it.
Mistake to avoid: Packing batteries loose. Always tape the terminals of spare batteries or keep them in their original packaging. Loose batteries can short-circuit and cause fires. It's a real safety issue that has grounded flights.
Pro tip I wish someone had told me: Bring a permanent marker and write your name on your fins, mask, and any other gear that looks like everyone else's. On a liveaboard with 20 divers, the rinse bins and drying areas become a sea of identical-looking gear. Also helps with resale value documentation later.
Last pro tip: Pack your first day's dive outfit and toiletries in your carry-on or at the very top of your checked bag. If you're exhausted after 24 hours of travel, the last thing you want to do is unpack everything to find your swimsuit for the check dive.
Frequently Asked Questions
How do you pack scuba gear without exceeding airline weight limits?
The most effective strategy is to wear your heaviest items like dive boots and a heavy jacket on the plane, then pack your wetsuit and BCD as protective layers around hard items like regulators. Use a portable luggage scale at home to check your bag weight before leaving, and redistribute items between bags if one is too heavy. Most airlines allow two checked bags—use both and keep each under 50 pounds rather than cramming everything into one massive bag. If you're still over, consider shipping some gear ahead to your departure port using a tracked service, though this only works if someone can receive the package for you.
Should I pack my dive computer in carry-on or checked luggage for a liveaboard trip?
Always pack your primary dive computer in your carry-on along with your backup computer if you have one, your certifications, and your primary mask. Dive computers are essential for diving and impossible to replace at remote locations, so they should never go in checked luggage where they could be lost, stolen, or damaged. Keep your computer in a padded case to protect it during transit, and make sure the battery is charged and the device is properly configured before you leave home using your dive computer setup checklist.
How do you protect regulators from damage when packing for travel?
Wrap your regulator in a padded regulator bag or a towel, ensuring the dust cap is secured on the first stage with the o-ring properly seated. Place the regulator in the center of your bag, surrounded by soft items like your wetsuit, and never near the edges or bottom where impact is most likely. Coil the hoses loosely without sharp bends or kinks, and if you have a DIN regulator, make sure the threaded connection is protected. Consider placing your regulator case inside your rolled wetsuit for an extra layer of cushioning, and always inspect the first stage and hoses when you arrive to ensure nothing was damaged during transit.
What gear should never go in checked luggage on a liveaboard trip?
Your primary mask and backup mask, primary dive computer, certification cards, dive insurance documents, prescription medications, one swimsuit and rash guard, and essential electronics like your phone and camera body should always go in your carry-on. These items are either impossible to replace at remote locations or critical for diving safely, and losing them would effectively end your trip. Some experienced divers also carry their regulator in their carry-on for added security, though this is a personal choice based on your comfort level with baggage handling and the value of your regulator.
Summary

Learning how to pack scuba gear for liveaboard trips takes practice, but following these steps will protect your gear, keep you organized, and prevent those awful moments when you realize you forgot something essential. Pack your regulators and computers in protective cases at the center of your bag, use your wetsuit as cushioning, deflate and stuff your BCD, and organize small items in labeled bags. Most importantly, keep your mask, computer, and certifications in your carry-on—never in checked luggage.
The effort you put into careful packing pays off from the moment you arrive at the boat with everything intact and ready to dive. Your dive buddies will be envious when you can find everything quickly while they're still digging through chaos. Remote liveaboards are incredible experiences, and proper packing means you spend your energy on diving and exploring, not on equipment stress. Safe travels and happy diving!