Finding the right scuba mask completely changed my diving experience—and I mean that genuinely. My first mask leaked constantly, fogged up within minutes, and gave me a headache by the end of every dive. I thought maybe I was doing something wrong until I learned how to choose a scuba mask that actually fits my face shape. Now I can focus on the reef, my camera settings, and actually enjoying the dive instead of constantly clearing water or adjusting my mask.
In this guide, I'll walk you through exactly how to choose a scuba mask based on your unique face shape, diving style, and needs. We'll cover the fitting process step by step, what features actually matter (and which are just marketing), and how to avoid the mistakes I made when I was starting out. Whether you're buying your first mask or finally upgrading from that rental that never quite sealed right, this process takes about 15-20 minutes in a dive shop and will save you so much frustration underwater.
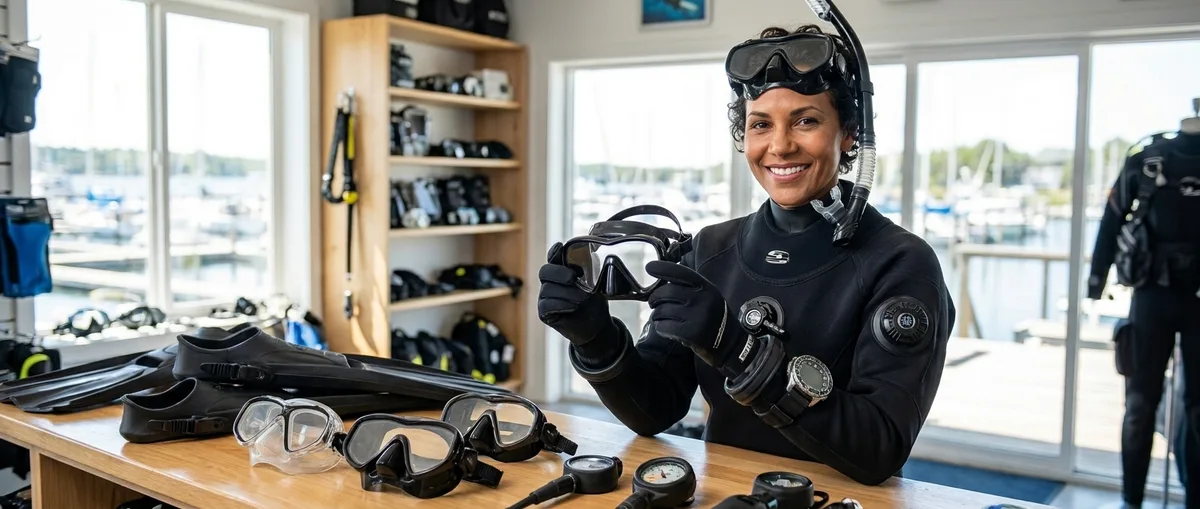
What You'll Need
Before you head to the dive shop or start browsing online, here's what will make the mask selection process easier:
- Access to multiple mask models (ideally try at least 4-6 different styles)
- A mirror (most dive shops have them, but bring a small one if shopping at larger stores)
- Your prescription if you need vision correction
- Hair tie or headband if you have long hair (you'll need to see how the mask sits against your actual hairline)
- Photos of your face from the front and side (sounds weird, but helps identify your face shape beforehand)
- Any current prescription glasses or contacts to compare vision needs
- A list of your typical diving conditions (cold water, tropical, photography, etc.)
- About 30-45 minutes of unrushed time (seriously, don't rush this—I did and regretted it)
Step 1: Understand Your Face Shape and Mask Volume Needs
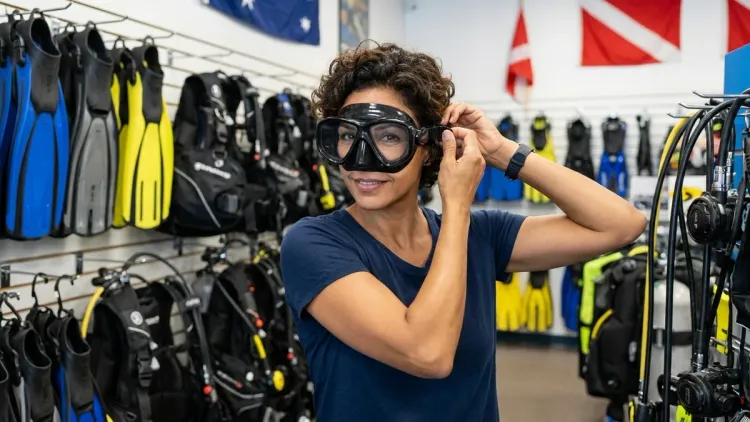
Before you even touch a mask, take a minute to really look at your face shape. I know this feels a bit awkward, but different face shapes genuinely need different mask styles.
Face width matters more than you'd think. If you have a wider face like I do, those sleek low-volume masks that look so cool in photos might not seal properly at your temples. Narrower faces often have the opposite problem with wider masks—they get gaps near the nose or cheeks. I wasted money on a frameless mask that looked amazing but left gaps along my jawline because I have a rounder face shape.
Consider your diving style too. For underwater photography, I actually prefer a slightly wider field of view even though it means a bit more volume to clear. Freedivers and technical divers usually want the lowest volume possible (less air to equalize), but as a recreational diver, that's not my priority. If you're not sure what volume means yet, it's basically how much air space exists between your face and the lens—less volume means less air to clear if water gets in.
The shape of your nose bridge is huge. High nose bridges need masks with adjustable or taller nose pockets, while flatter bridges (more common in Asian face structures) need masks designed with that in mind. According to PADI, an improper fit around the nose is one of the most common causes of mask leaks and discomfort.
One more thing about volume: if you're just starting out or doing casual reef diving like most of my dives, don't obsess over getting the absolute lowest volume mask. Comfort and fit matter way more than shaving off a few milliliters of air space.
Step 2: Position the Mask Without the Strap
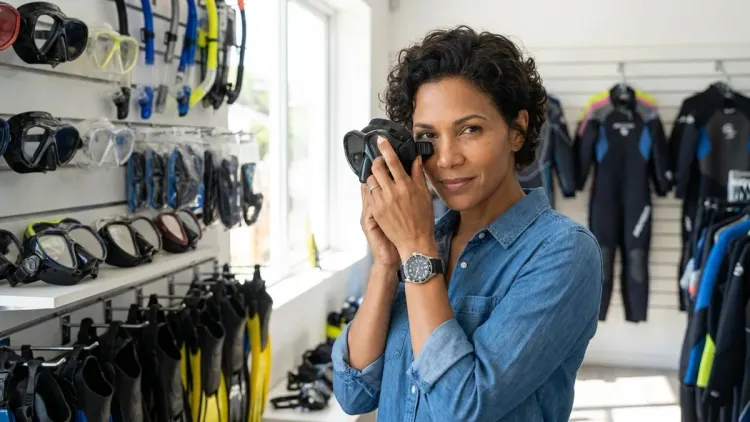
This is the actual fit test, and it's the single most important step in how to choose a scuba mask. I learned this from a dive shop owner in Ambergris Caye after buying two masks online that both leaked.
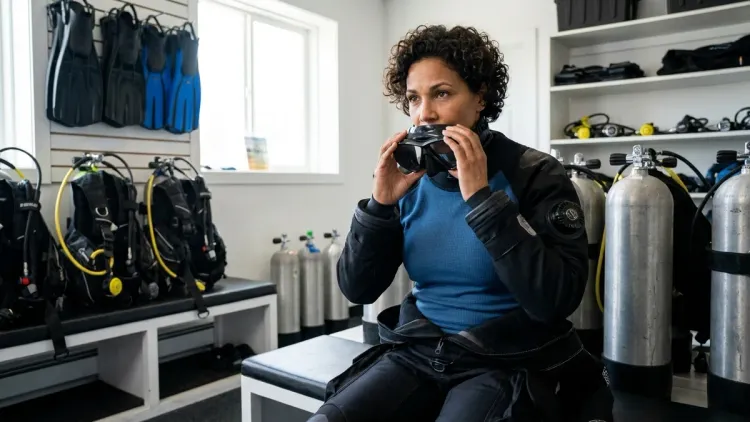
Here's how to do it properly: Hold the mask against your face without using the strap at all. Position it where it would naturally sit—the skirt (that's the soft silicone part) should contact your face all the way around. Don't press it hard; just let it rest against your skin.
Now breathe in gently through your nose. The mask should create a light suction and stay on your face without any help from your hands. This is the seal test. If it falls off immediately, the fit is wrong. If it stays but you feel air leaking in anywhere, that's a problem spot.
Common leak points to check: the area near your temples, along your upper cheeks, and especially around the nose pocket. I have slightly chubby cheeks (thanks, genetics), and some masks just gap right there no matter what I do. That's not a defect—it's just not the right shape for my face.
Hold the mask there for 15-20 seconds while breathing normally through your mouth. If it stays comfortably without sliding or breaking seal, that's a good sign. If you feel pressure points that hurt or the mask shifts around, keep looking.
Try this test with your head in different positions—looking up, looking down, turning side to side. Underwater, you'll be moving your head constantly to check your dive computer, look at your camera settings, or spot marine life. The mask needs to maintain that seal through all that movement.
Step 3: Check the Skirt Material and Seal Quality
Once you've found a mask that passes the suction test, take a closer look at the skirt itself. This is where the actual sealing happens, and not all silicone is created equal.
Feel the silicone with your fingers. It should be soft and flexible, not stiff or plasticky. High-quality mask skirts use thicker silicone around the sealing edge and thinner material toward the lens. If the whole skirt feels uniformly thick and rigid, it won't conform to the subtle contours of your face as well.
Most masks now use clear or black silicone. I prefer black because it reduces light scatter and backscatter in my underwater photos, but that's a personal preference. Clear skirts let in more ambient light, which some divers like for the feeling of openness. Neither is better functionally—it's about what you prefer visually.
Check where the skirt attaches to the frame (if it's a framed mask) or to the lens (if it's frameless). There shouldn't be any gaps, thin spots, or areas where the material looks stretched or stressed. I once bought a mask where the skirt was slightly misaligned at the factory—it leaked every single dive until I finally gave up on it.
The double-seal vs. single-seal debate: Some masks have a double feather-edge seal (two thin ridges of silicone that contact your face), while others have a single seal. I've used both. The double seal tends to be more forgiving of slight face shape variations, but a well-designed single seal works great too. This isn't a dealbreaker either way—focus more on the overall fit.
For context on how materials affect long-term durability and seal performance, the article on scuba mask skirt materials goes way deeper into the technical side if you're curious.
Step 4: Evaluate the Field of View and Lens Configuration
Now that you know the mask seals properly, think about what you'll actually see through it. Field of view is how much of your surroundings you can see without moving your head, and it varies wildly between mask designs.
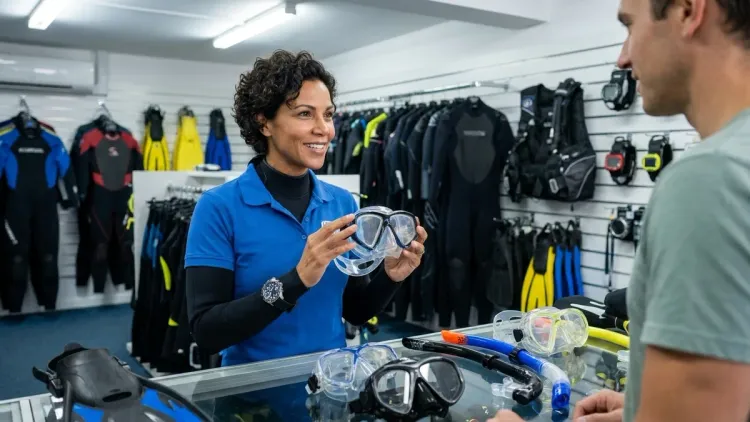
Single-lens masks (one big window) generally give you the widest unobstructed view. I use a single-lens mask for photography because I can see my entire camera frame and controls without shifting my eyes much. The downside? They tend to have higher volume, which means more air to clear if you get water inside.
Two-lens masks (separate windows for each eye) can be made with lower volume and often feel less "in your face" if you're claustrophobic. They're also the only option if you need prescription lenses, since grinding custom lenses is way easier with two separate pieces. The center frame does create a small blind spot right in the middle of your vision, which bothered me at first but I stopped noticing after a few dives.
Side windows are a feature on some masks that claim to increase peripheral vision. Honestly? I've tried masks with and without them, and I barely notice a difference. They add a bit more volume and complexity, and in my experience, they fog up faster than the main lens. Not a deal-breaker, but not the game-changer they're marketed as either.
Frameless vs. framed is another choice you'll encounter. Frameless masks are lighter, pack smaller (huge for travel), and generally have less volume. Framed masks are often more durable and can provide a slightly wider field of view. I wrote about this choice in more detail in the frameless vs framed scuba masks comparison if you want the full breakdown.
For underwater photography specifically, I'd recommend prioritizing an unobstructed downward view so you can see your camera housing controls clearly. That ruled out a few otherwise great masks for me.
Step 5: Test the Nose Pocket for Equalization Access
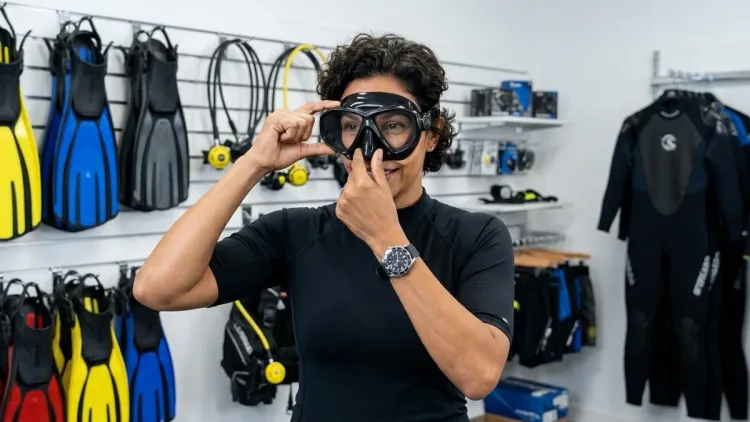
This step is so often overlooked, and it can make or break your comfort underwater. You need to be able to pinch your nose easily through the mask to equalize your ears as you descend.
Put the mask on (still without tightening the strap much) and reach up to the nose pocket. Can you comfortably grip your nostrils through the silicone? If you have to jam your fingers in there or struggle to get a grip, that mask is going to be frustrating every single dive.
Try it with different hand positions because underwater you might be holding your camera, a reef hook, or managing other gear while equalizing. I need to be able to equalize with just one hand while the other holds my camera rig, so I specifically test that during mask fitting.
Some masks have wider, roomier nose pockets, while others are more minimal. Neither is universally better—it depends on your nose size and shape. My dive buddy has a larger nose and needs the extra room, while I can use either style comfortably.
The pinch-test at the surface isn't enough. Try tilting your head back, looking up, and pinching your nose through the mask. That mimics the position you'll often be in during ascent. If the nose pocket shifts or makes it harder to grip, take note.
This is also when you'll discover if the nose pocket puts weird pressure on the bridge of your nose. I had one mask that felt fine during the suction test but after 20 minutes on a dive, the nose pocket gave me a headache right between my eyes. If something feels even slightly uncomfortable in the shop, it'll be worse at depth.
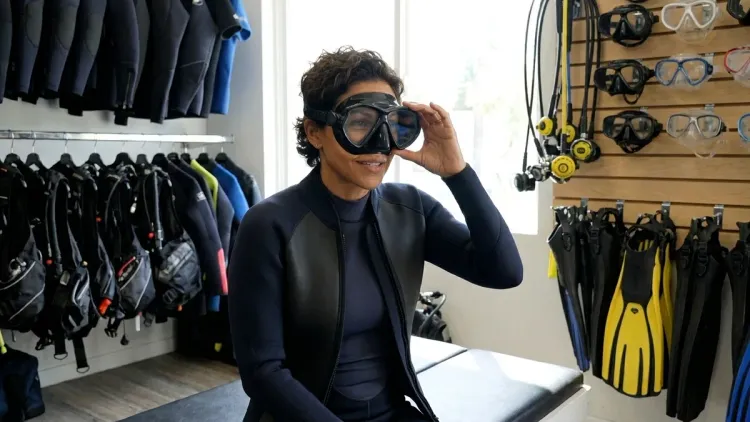
Step 6: Adjust and Test the Mask Strap System
Okay, now you can finally put the strap on—but don't just yank it tight. The strap should hold the mask in place, not create the seal. If you need to crank the strap super tight to stop leaks, the mask doesn't fit your face properly.
Here's the right tension: Adjust the strap so the mask sits comfortably against your face with light, even pressure all around the skirt. You shouldn't feel any specific pressure points. The mask should feel secure if you gently shake your head, but you shouldn't feel like it's squeezing your skull.
Strap placement matters more than I realized. The strap should sit flat against the back of your head, not too high (which pulls the top of the mask away from your forehead) and not too low (which tilts the bottom away from your face). I usually position it right around the widest part of my head, just above where my skull starts to curve inward.
If you have long hair like I do, this is when you test how the mask works with your hair pulled back. A ponytail or bun can push the strap higher than it should sit. I usually dive with a low bun specifically so it doesn't interfere with my mask strap. Some masks come with split straps or comfort straps that distribute pressure better—these are legitimately nice if you're doing multiple dives per day.
Test the buckle adjustments. You'll need to tighten and loosen this underwater eventually. Can you reach the buckles easily? Do they adjust smoothly or feel sticky? I once had a mask where the buckles were so stiff I couldn't adjust them with cold hands—learned that the hard way on a chilly morning dive.
Try the mask with a hood if you dive in cold water. The hood material under the strap changes everything about fit and seal. If you regularly dive in conditions where you wear a hood (check out the best wetsuits for cold water diving if that's your situation), bring the hood to the fitting or at least simulate the thickness with a beanie.
Step 7: Consider Special Features Based on Your Diving Style
At this point, you should have one or two masks that fit well and feel comfortable. Now you can think about specific features that matter for how you actually dive.
Do you need prescription lenses? If you wear glasses or contacts on land, you'll probably want them underwater too, especially for reading your dive computer or seeing the details on macro subjects. Prescription masks come in two types: pre-made diopter lenses (cheaper, limited correction options) or custom-ground lenses (more expensive, precise correction). I have mild nearsightedness and use a -2.5 diopter mask that cost me about half what custom lenses would have. The best prescription scuba masks article covers this in way more detail if you need vision correction.
Purge valves: helpful or hassle? Some masks have a one-way valve at the nose that's supposed to make clearing water easier. I tried one once and honestly didn't love it—it's one more thing that can fail or let sand in. But some divers swear by them, especially newer divers still working on their clearing technique. It's a personal preference thing.
Quick-adjust buckles are genuinely useful if you're doing multiple dives per day or sharing gear (like on a liveaboard where you might lend a backup mask). Standard buckles work fine, but the quick-release style saves a few seconds of fumbling.
Mask color: This is purely aesthetic, but it matters if you care about your underwater photos looking cohesive. I went with a black mask because I shoot a lot of self-portraits and wide-angle reef scenes, and I think it looks cleaner. Brightly colored masks can be easier to spot if you drop one overboard though—I've seen more than one mask floating away on a current during a surface interval.
For photography specifically, consider how the mask affects your field of view when looking through your camera viewfinder or at your camera screen. I need good downward visibility to see my housing controls, so I specifically avoided masks with thick lower frames. If you're interested in getting into underwater photography, the underwater photography camera settings guide is a great place to start.
Step 8: Do a Final Comfort Check and Plan for Break-In
You're almost there. Before you commit to buying, do one last comprehensive check with the mask on.
Wear the mask for 5-10 minutes if the shop allows it. I know that feels like a long time to stand there, but it's worth it. Some comfort issues only appear after a few minutes—pressure points, the nose pocket pressing weird, the strap feeling too tight. If something bothers you after five minutes in a comfortable dive shop, it'll be way worse 15 meters down on your second dive of the day.
Move your head through a full range of motion while wearing the mask. Look up, down, left, right. Smile big (seriously—your facial expressions underwater change how your cheeks and face muscles position themselves). Talk out loud if you're not self-conscious—your jaw movement affects the lower seal.
Check for any red marks or pressure points after you take the mask off. A slight indent where the skirt contacted your skin is normal. Red marks, pain, or deep indentations mean something's pressing too hard. I had a mask that left a painful red line across my forehead every time—I thought it would break in, but it never did.
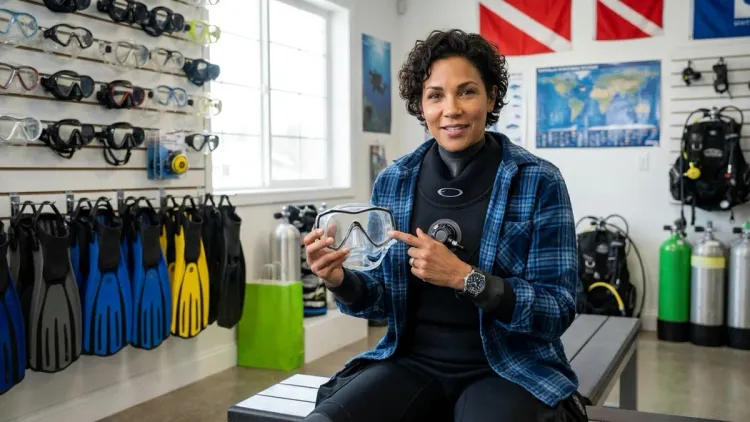
Understand that new masks need prep work. Even a perfectly fitting mask will fog like crazy until you remove the factory coating from the lens. I learned about this after a frustrating first dive with a new mask where I couldn't see anything. The how to prevent scuba mask fogging article explains the whole defog process, but basically: you need to scrub the lens with toothpaste or a commercial defog solution before your first dive, and then use defog spray or spit before every dive after that.
Plan for a short break-in period with any new mask. The silicone will soften slightly and conform to your face after a few dives. If the mask feels slightly stiff or the seal feels a tiny bit tentative the first time you use it, that's normal. If it actively leaks or hurts, that's not going to improve with break-in—that's a fit problem.
If you're buying online (which I don't generally recommend for your first mask, but I get it—selection is limited in some places), make absolutely sure the return policy is solid. You won't know if a mask truly fits until you get it in the water, and even the suction test can't predict every potential issue.
Pro Tips & Common Mistakes
The biggest mistake I made—and I see other new divers make constantly—is choosing a mask based on how it looks instead of how it fits. I bought my first mask because it was the same model my dive instructor used and it looked so sleek and professional. It leaked on every single dive. Fit trumps everything: brand name, aesthetics, features, price, all of it.
Don't over-tighten your mask strap. I did this for probably my first 30 dives because I thought a tighter strap meant a better seal. Wrong. You'll get a headache, the skirt won't seal properly (too much pressure distorts the silicone), and you'll be miserable. The mask should seal from its shape matching your face, with the strap just keeping it positioned.
Test masks with any gear that affects your face. If you dive with a hood, test the mask with a hood on. If you wear a snorkel attached to your mask (I don't usually, but some divers do), test it that way. The interaction between different pieces of gear can totally change how a mask fits.
Here's a pro tip for mask squeeze: Once you're diving regularly, remember to exhale a tiny bit of air through your nose into your mask as you descend. This equalizes the pressure inside the mask and prevents mask squeeze—that uncomfortable suction feeling that can actually bruise your face if it's bad enough. I forgot to do this on a deep dive once and had red marks around my eyes for two days. Not cute.
Bring your mask on every dive, even if you're using rental gear for everything else. Your mask is the most personal piece of equipment. It's also relatively inexpensive and easy to pack, even for travel. I always have my mask in my carry-on when I fly to dive destinations.
Check your mask regularly for wear. The skirt can develop tiny tears, the strap can degrade, and the buckles can crack—especially if you dive in sunny, salty conditions like I do in Belize. I inspect my mask as part of my scuba mask maintenance routine after every dive trip.
One last thing: your face shape can change over time. Weight loss, weight gain, aging, even dental work can affect how a mask fits. I lost some weight last year and one of my masks that used to fit perfectly started leaking near my cheeks. It's annoying, but it happens. Don't force a mask that doesn't fit anymore just because it used to work.
Frequently Asked Questions
How do I know if my scuba mask fits properly?
A properly fitting scuba mask should create a gentle suction and stay on your face when you breathe in through your nose—without using the strap at all. Place the mask against your face, inhale gently through your nose, and it should stick for at least 15-20 seconds without any help. When you put the strap on, you should only need light tension to keep it positioned; if you're cranking the strap tight to stop leaks, the mask doesn't fit your face shape. You also shouldn't feel any specific pressure points, and the skirt should contact your face evenly all the way around with no gaps at the temples, cheeks, or nose.
Should I choose a single-lens or two-lens scuba mask?
Single-lens masks generally provide a wider, unobstructed field of view and work great for underwater photography or if you want maximum visibility, but they tend to have higher internal volume that takes more effort to clear if water gets in. Two-lens masks typically have lower volume (easier to clear), can feel less bulky on your face, and they're your only option if you need prescription lenses since those require two separate lens pieces. I use a single-lens mask for photography but prefer a two-lens design for general diving. Choose based on whether you prioritize field of view or lower volume, and whether you need vision correction.
Can I buy a scuba mask online without trying it first?
You can, but I honestly don't recommend it for your first mask—fit is so individual that even masks with great reviews might not work for your specific face shape. I've bought masks online and gotten lucky, but I've also had to return two that looked perfect in photos but leaked constantly because my face shape just didn't match the skirt contour. If you do buy online, make absolutely sure the return policy allows you to return used gear (some don't once you've gotten it wet), and be prepared to potentially go through a few returns before finding the right fit. If at all possible, try masks in person at a dive shop first, even if you end up ordering the same model online later.
How often should I replace my scuba mask?
Replace your mask when the silicone skirt shows signs of degradation—tears, cracks, permanent deformation, or loss of flexibility—or if the strap or buckles break and can't be replaced. With proper care (rinsing after every dive, storing away from direct sunlight, avoiding petroleum-based products), a quality mask can easily last five to ten years or longer. I've had my main mask for three years now with probably 60 dives on it, and it's still in perfect condition. Check the skirt regularly for tiny tears, especially where it attaches to the frame or lens, since that's where stress cracks usually start. If you notice any of these issues or if the mask starts leaking even after you've confirmed the fit is still good, it's time for a new one.
Summary
Learning how to choose a scuba mask that actually fits changed everything about my diving comfort and enjoyment. The process comes down to understanding your face shape, doing the proper suction test without the strap, checking the skirt quality and seal points, evaluating field of view for your diving style, testing nose pocket access for equalization, adjusting the strap correctly (not too tight!), and considering special features like prescription lenses if you need them.
Take your time with this decision. Try on at least four to six different masks, spend a few minutes wearing each one, and don't let aesthetics override fit. A mask that seals properly on your face with minimal strap tension, allows easy nose access for equalization, and gives you the field of view you need is worth way more than one that just looks cool.
Your mask is the window to everything beautiful underwater—make sure it's the right window for your face. If you take the time to choose carefully now, you'll avoid the leaks, discomfort, and frustration that plagued my early diving days. Trust me, it's worth the extra effort at the dive shop.